How to Host Webinars Online Using YouTube Live
If you want to host webinars online for your audience, YouTube’s Live Streaming Events is one of the easiest and most reliable ways. I recently conducted a webinar for Razorpay, and it was a seamless experience.

I have tried conducting webinars on GoToMeeting, GoToWebinar and a few more webinar platforms before. GoToMeeting is suitable for small audiences and more focused towards meetings & training sessions than broadcasting webinars. In GoToMeeting anyone can un-mute themselves and talk during your presentation. GoToWebinar is built for webinars but it is extremely costly, especially when your audience size becomes large.
YouTube Live beats them all in terms of performance and price (it’s free!). And best of all, you can have unlimited people watching the webinar and their servers can handle it!
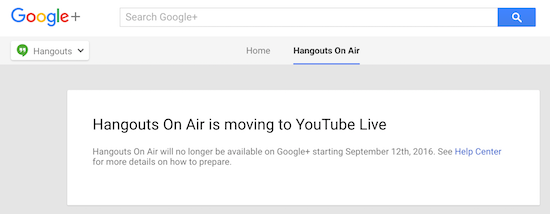
Google is also discontinuing Hangouts on Air, a confusing product under the umbrella of Google+ and replacing it with YouTube Live.
Getting Started
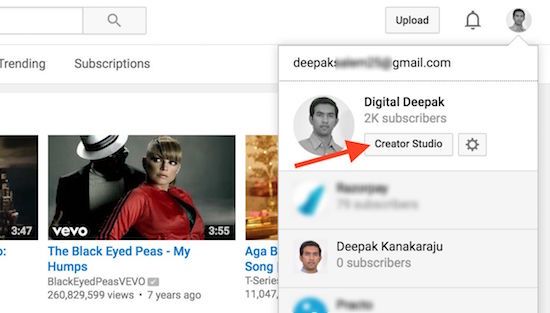
To conduct webinars using YouTube Live, you need to have a YouTube channel first. Every Google/Gmail account comes with a YouTube login as well. You just need to create a YouTube channel if you haven’t done it already. Click on your profile pic on the top right corner and click on Creator Studio.
On the left sidebar click on Events under Live Streaming. If this is the first time you are creating a Live Streaming Event, the screen will look like this:
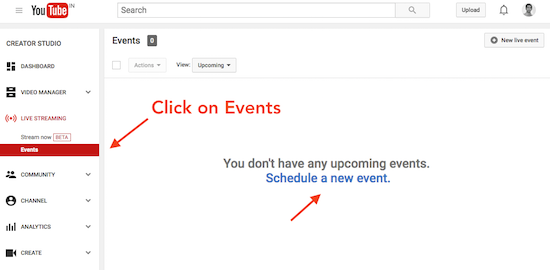
Click on Schedule a new Event. Here, you can add a title for your Event, select a date and time and schedule it. If this is a public webinar, you can select it as ‘Public’.
If you are conducting a closed webinar or a workshop for specific audience, then you can select unlisted/private. Unlisted videos are accessible only through a link. Private videos are accessible only by specific users who are invited.
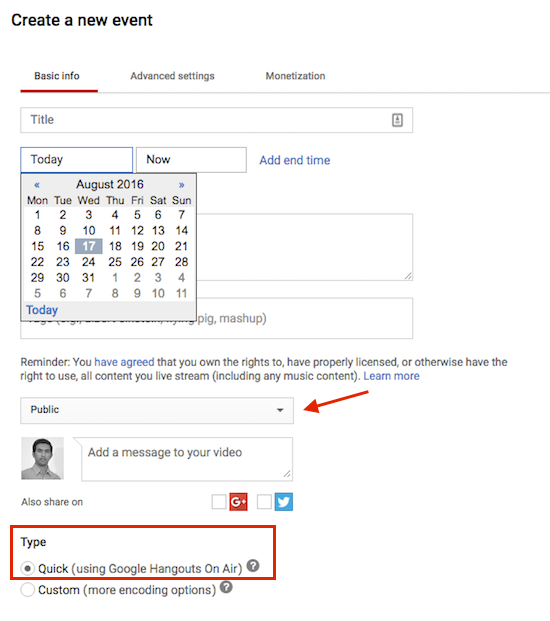
You can select Type as Quick. This option uses Google Hangouts on Air’s module to encode the video.
I wouldn’t recommend using custom encoding unless you are an advanced user. Custom encoding has a LOT of options for professional video streaming. If you come from a video editing and production background, you will find it very interesting. Custom video encoding is beyond the scope of this article.
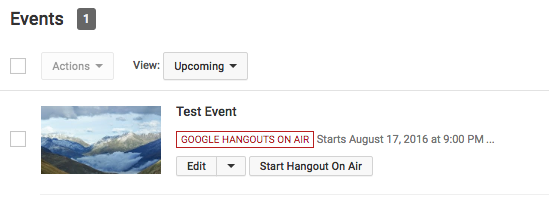
Once you have created the event it will show up on the events section like this:
The best part about YouTube’s Live Streaming Events is that the URL of the video is the same before the stream, during the stream and after the stream.
After the live streaming is done, the recording of the event shows up in the same link. This is very helpful because people who have missed the live stream can go ahead and watch the recording using the same link. We need not send them a separate link for them to access the recording.
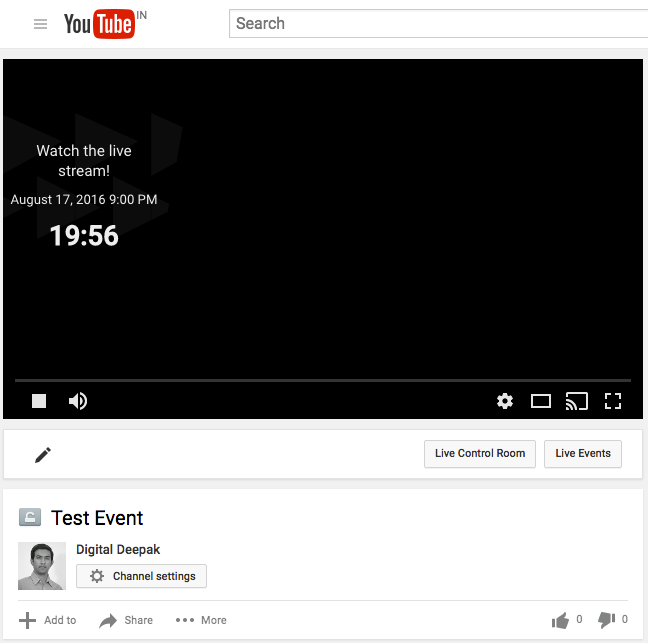
If someone clicks on the YouTube link before the streaming starts, it shows a count down like this:
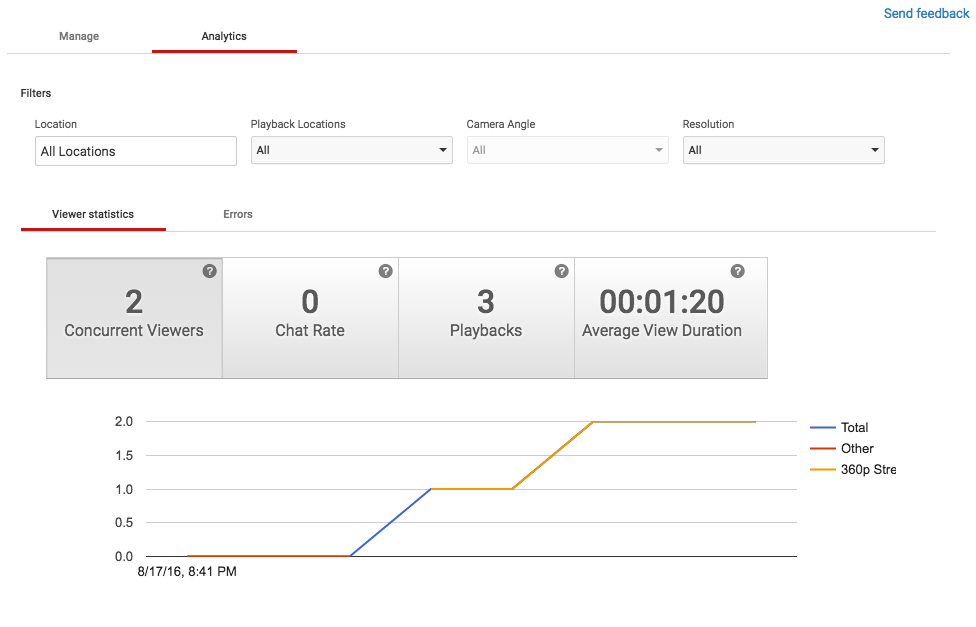
If you click on Edit, there is an option called ‘Live Control Room’. Here you will get a lot of useful details about the live stream video including analytics as shown below:
Once it is time to start streaming your webinar, you can click ‘Start Hangout on Air’.

You can also start the stream a few minutes before the actual time you have scheduled. The last time we did the webinar, we started 10 minutes earlier to check if everyone can access the audio and video properly.
However, note that if you start the stream early and if you are playing around like ‘Mic testing 1,2,3’, it will become part of the final video as well. You can edit the video later and trim out the first few minutes.
Once you click ‘Start Hangout on Air’, you will get a new window which looks like this:
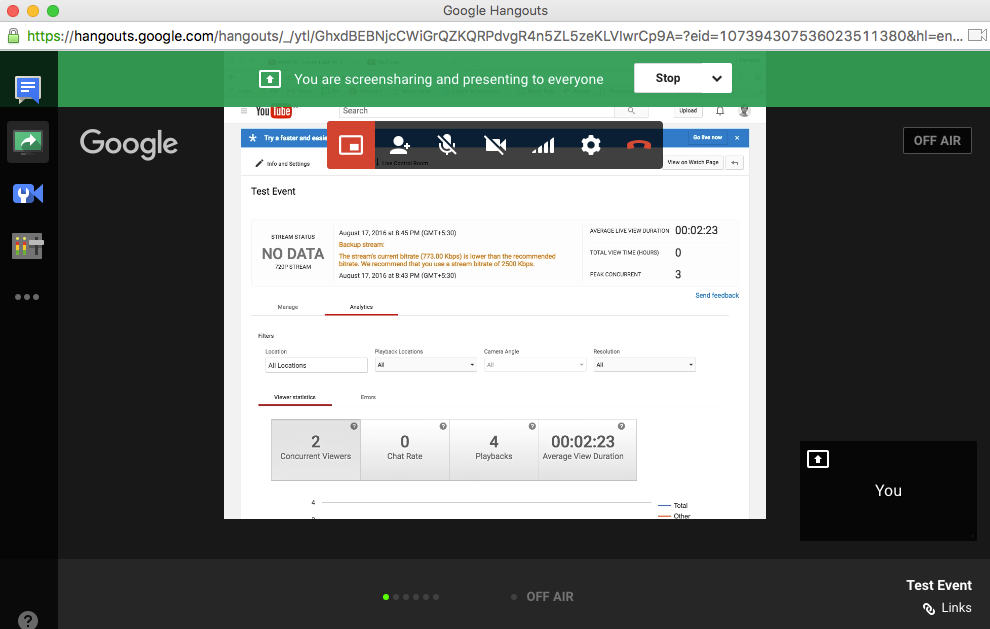
By default, the stream will contain the feed from your webcam, but you can change it to screen-sharing. In the above screenshot you can see that I am sharing my screen.
You can also invite more presenters into the same webinar. To make someone a presenter, you have to give a special link. That link can be fetched from the bottom right corner of the window as shown above.
After the live streaming is done, YouTube will take some time to process the video and make it available for playback. This is how it looks after the streaming has been done:
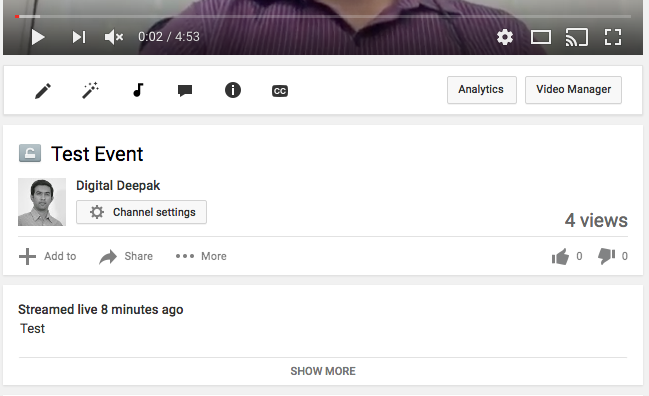
It would say ‘Streamed live X time ago’ instead of the uploaded time.
The view count of this video would be a total of live watchers + the number of people who playback the video.
During the stream people can comment and ask questions on the right side of the player. Here you can also add a moderator to delete or respond to the questions. During the stream, the comments below the video are disabled. Comments below the video are enabled after the live stream is over.
For all practical purposes, once the stream is over, the video is just like any other video on YouTube.
Final Words
It took some time for me to get comfortable with live Webinars. YouTube Live Streaming is a great way to produce high quality content in a short period of time. I hope this article has given you a clear idea on how to leverage YouTube’s technology for content production and distribution.
Questions? Leave a comment below.