How to Use Google Webmaster Tools to Enhance Your Website’s Health and Traffic
Google webmaster tools is used by many website owners to gain great insights into their websites. If you are not yet using webmaster tools, you are missing out on critical information about your website which can help you get more traffic and make your website more healthy.

With Google webmaster tools helps you get information about how many times your website was displayed in Google search results & how many clicks it received for which keywords and so on. You can also get information about how many pages have been submitted and how many have been indexed in the search engine.
Some notable features that are included in Webmaster Tools:
- Check Keywords and their impressions and clicks
- Check your website for malware
- Check the status of structured data
- Get notified if there is a sudden drop in traffic
- Get notified if there is any issue in the website
- Fetch as Google bot and submit the page to Google
- 404 / Not found errors on your website
- Incoming links from other websites and internal links
- Remove certain URLs from the search engine index
In this article I will show you step by step how to add your website to Google webmaster tools and how to make the maximum use of this tool from big G.
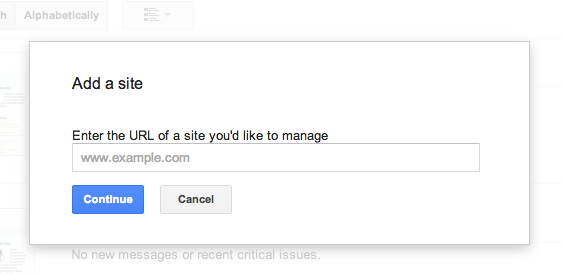
Step 1: Add Your Website and Verify
The first step in using Google webmaster tools is to add your website and verify it. You need a Google account to get a webmaster tools account.
The best way to verify your website is to download the HTML verification file and upload it on your website. You can do this through File Manager in your cPanel. Keep the file there even after the verification is done. Another method to verify your website is by adding a TXT record to your domain name. This is a bit on the technical side but while adding and verifying your website, Google gives instructions on how to do it depending on where you have registered your domain. You can also add additional administrators to your webmaster tools account.
Step 2: Create a Sitemap and Submit it
If you are using WordPress as your content management system, you can create a sitemap for your website using free plugins. A sitemap is a page which contains a list of all the pages on your website. This page helps the search engines to index your website and add your website’s pages to the search engine index and search result pages.
For example, the sitemap for this websites resides here: /sitemap.xml

The best plugin for creating sitemap for WordPress is Google Sitemap Plugin from BestWebSoft. That’s what I use for my website. They also have a pro version but the free version is enough and serves the purpose.
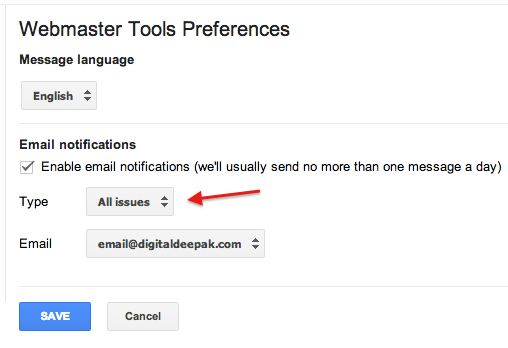
Step 3: Setup Email Alerts and Analyze the Data
You can setup email notifications and alerts for your website. Important things such as change in traffic pattern or website loading issues will be notified to you immediately.
After you add your website and verify it, some data data doesn’t appear immediately. Check after 2 days and you will be able to see information about impressions, clicks, keywords and more.
Other search engines also have webmaster tools but since Google has the majority share in the market, it is enough if you add your website to Google webmaster tools.
Any questions? Thanks for reading.